- Minecraft Modding: Fabric + Kotlin – Introduction and Setup
- Minecraft Modding: Fabric + Kotlin – Items
- Minecraft Modding: Fabric + Kotlin – Strings and Refactoring
Introduction
I’ve been playing Minecraft for years, both vanilla and modded, but I’ve never attempted to create mods myself. I recently learnt that Fabric (a lightweight modding toolchain for Minecraft, an alternative to the arguably heavier Forge) supports Kotlin.
I had been meaning to learn Kotlin and to learn Minecraft modding, so this was a great opportunity to do both at the same time. I found the Fabric docs and tutorials to be somewhat unhelpful, and although everything is pretty much the same, all the Fabric modding resources I found targeted Java, not Kotlin.
Before we proceed, I do recommend going to the official Fabric tutorial, since I will not be able to cover everything, and they include many important concepts.
You can find the full code here: https://github.com/shreyasm-dev/fabric-kotlin-modding-tutorial. I’ve released all code and assets under the CC0-1.0 license.
Environment
This guide will assume you have basic programming knowledge, have IntelliJ and know how to use it (that’s the IDE I’ll be using, but you can use any other IDE/editor with modified directions), and a JDK installed (I’ll be using JetBrains Runtime 17.0.7). You can probably follow along with absolutely no experience in Kotlin, but I would recommend learning a bit before beginning.
I recommend the Minecraft Development plugin for JetBrains IDEs, as it can streamline many things. Note that, using this plugin, you can directly generate mods from templates instead of the one we use below, which is what I’d recommend, but since it doesn’t support Kotlin or Fabric datagen out of the box, we won’t we using it here. However, you can create Architectury mods with it, which work on both Forge and Fabric. If you plan on creating more mods in the future (Architectury, or even just plain Forge/Fabric), I would recommend using this plugin to generate the templates and then setting it up yourself to use Kotlin and Fabric datagen if you want to.
Template
We’ll be using the Fabric template generator (provided by the great Fabric team), which provides you with a pre-configured CC0 template. You can find it at https://fabricmc.net/develop/template/.
These are the options I will be using. Customize the mod name and package name to suit you. You can also change the mod ID if you want (it already autogenerates one from your mod name).
- Mod Name – Stuff
- Mod ID –
stuff - Package Name –
dev.shreyasm.stuff - Minecraft Version – 1.20.1
- Kotlin Programming Language – Yes
- Data Generation – Yes
- Split client and common sources – Yes
After configuring the template, you can click download. Personally, I like to keep things organized, so I’ll extract it to ~/Modding/Fabric/1.20.1/. After you’ve extracted it, you can rename the folder. I’ll rename it to my mod ID.
Now, you can open it in IntelliJ (or the IDE of your choice). The project should automatically import (if it doesn’t, try opening build.gradle).
Once it finishes importing, open Gradle Settings from the Gradle tab (alternatively, Settings > Build, Execution, Deployment > Build Tools > Gradle). Select the Gradle project, and change both ‘Build and run using’ and ‘Run tests using’ from Gradle to IntelliJ IDEA. Note that this is localized to this project, and you’ll have to change this setting for every mod you make. To quote the Fabric tutorial: “By default, IntelliJ delegates to Gradle to build the project. This is unnecessary for Fabric and causes longer build times and hotswapping related weirdness, among other problems.”
Although we probably won’t be doing it in this series, while modding on your own, you may need to read Minecraft’s source and can be essential to creating mods. Run the genSources Gradle task to generate the Minecraft source. I’d also recommend reading https://fabricmc.net/wiki/tutorial:reading_mc_code.
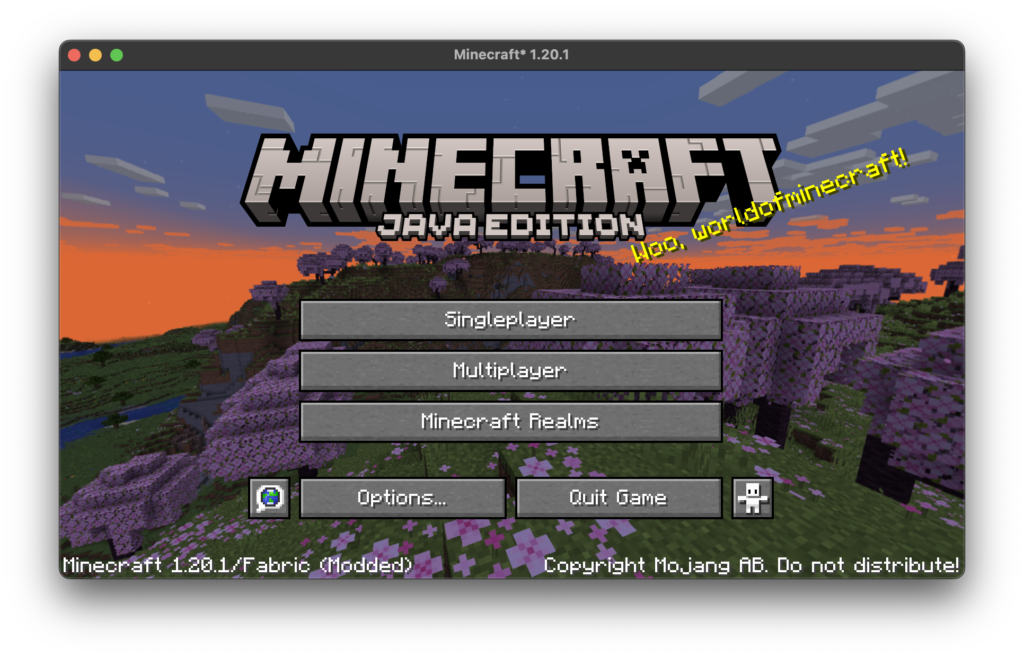
Now, you can run the runClient Gradle task to start the Minecraft client. This is how you’ll run it after you’ve written code to mod it. You might get a 401 error while it’s starting – this is alright, just ignore it.

That’s the end of this part! In the next part, we’ll be adding a few items to our mod, as well as creating a creative tab for them.
Leave a Reply